


Well stage 3 complete.
Added some bias binding in a floral pattern.
Picture number 3 is my mothers day card (a bit early) in the form of Millie as the hungry green caterpillar.
How cute!

 |
| second stage complete |
 |
| Birthday! |
 |
| Cut dress pattern |
 |
| Made from left over fabric |

 |
| Millie a couple of years ago |
 |
| Blue paper rose ceramic heart |
 |
| Ivory ribbon rose ceramic heart |
 |
| Pretties |
 |
| Apron modelled by Millie |
 |
| Fruit oil cloth |
 |
| Set of 8 Unisex childrens aprons |
 |
| All wrapped and labelled |
 |
| who will buy??? |
 |
| Purple design |
 |
| Green design |


 |
| Apron finished ! |
 |
| All wrapped and ready to go |
 |
| One plain pocket with white ribbon |
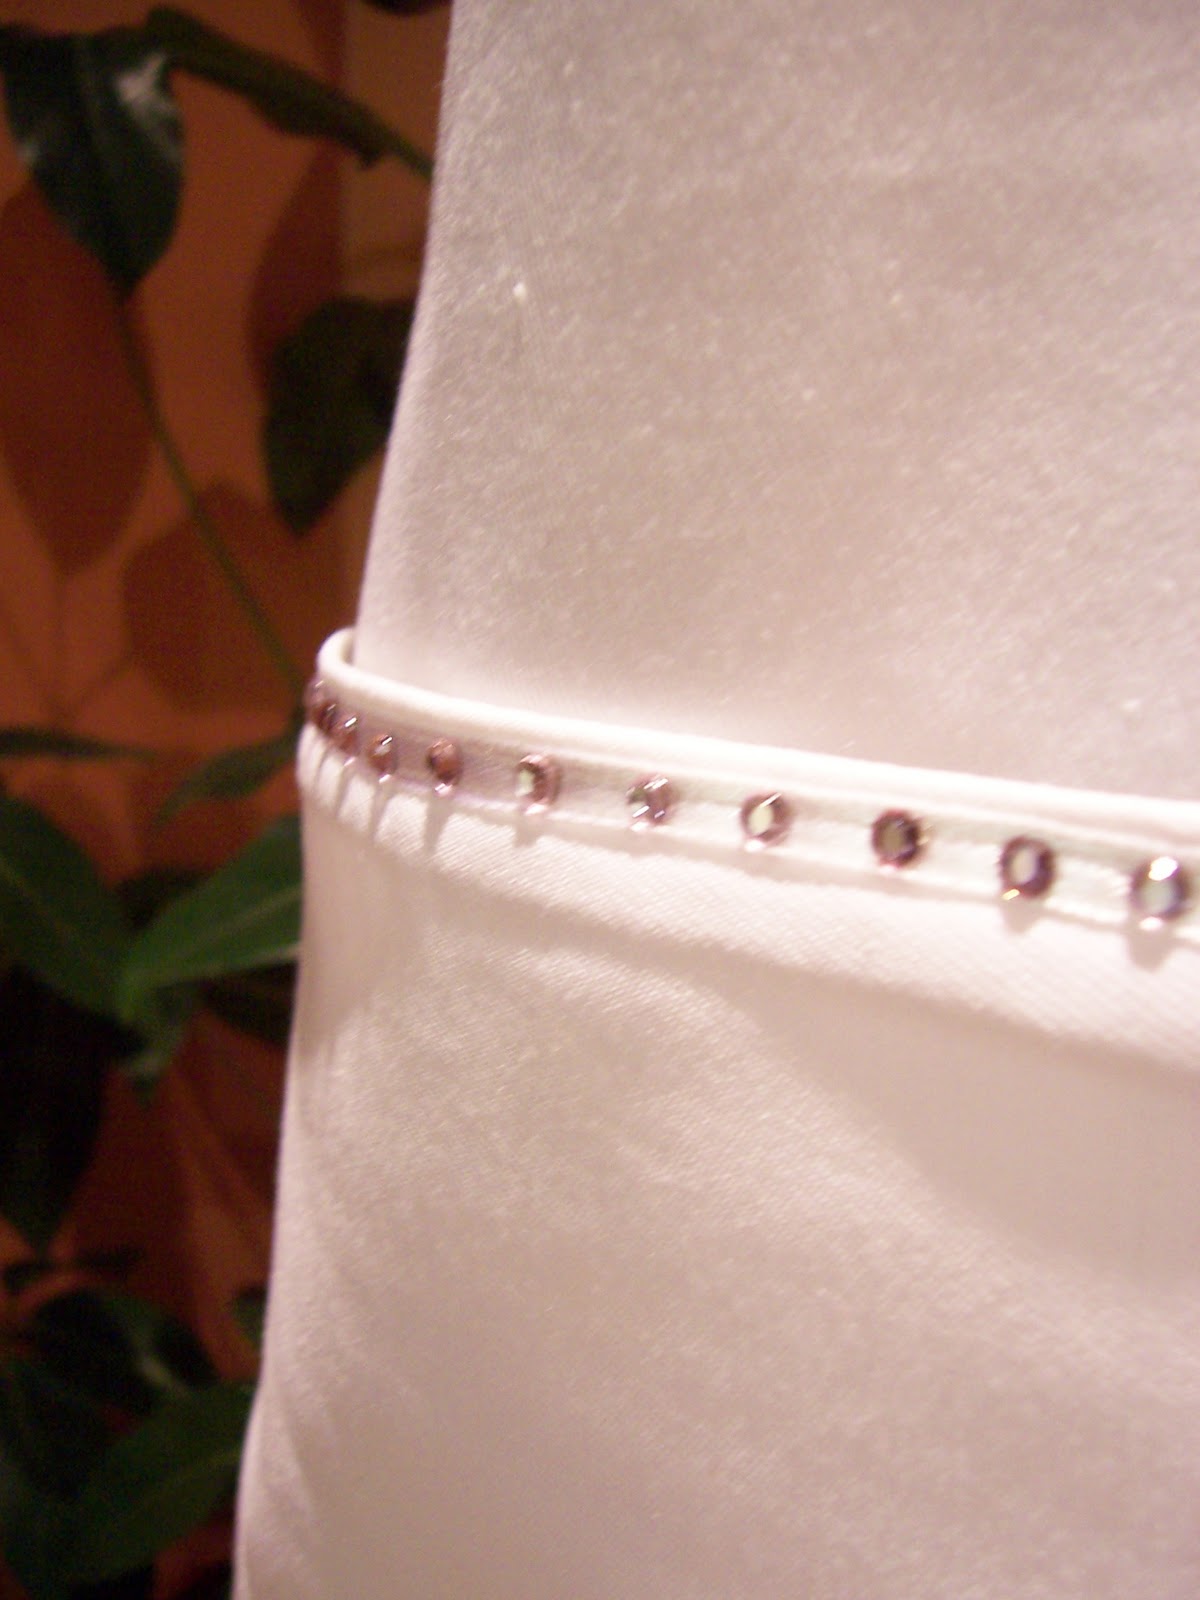 |
| ...Now has pretty pale pink rhinestones on |
 |
| Chiffon neck tie (adjustable) and "Nails by Liza" has to be attacthed but its too late to have the sewing machine going! So a job for tomorrow |
 |
| Ceramic heart with embellishments for Mothers day |
 |
| Roo wearing her peek a boo jumper |
 |
| What's in the pocket? |
 |
| Eeeeek a mouse! |
 |
| How adorable? |
 |
| Painted the boards white,pink and gold and then distressed them |
 |
| Close up of the distressed look |
 |
| Added some writing to the bottoms |
 |
| Covered the notepads and stamped a design, then used my hotfix tool to add rhinestones |
 |
| Close up |
 |
| Thomas working with me tonight |
 |
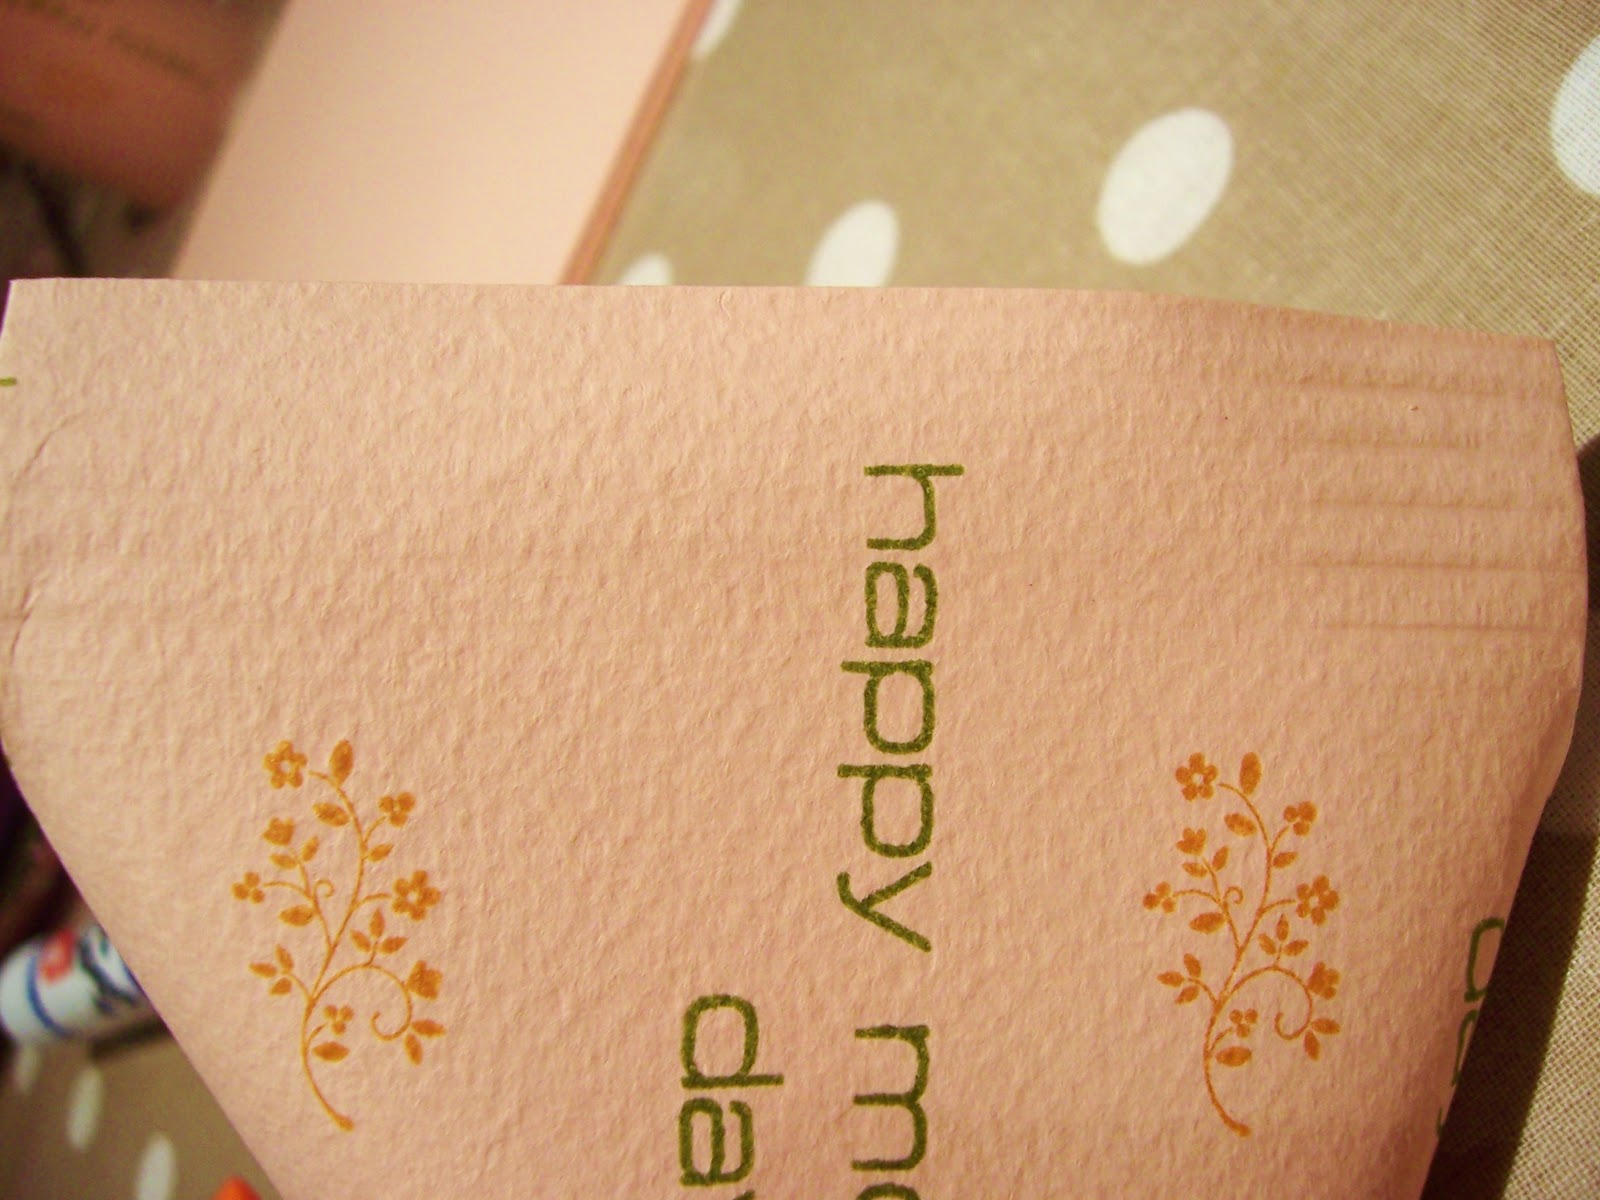
| Stamp the card (half A4) |
 |
| Stick double sided tape to one end |
 |
| Roll into a tube |
 |
| Stick double sided tape to inside of one end of tube |
 |
| Squash the two sides of tube together |
 |
| Add tape to the other end of tube its at this stage you would add something inside the pocket (Nice chocolates?) |
 |
| Squash tube flat in the opposite direction to the first one |
 |
| So this is how it should look now |
 |
| Use the crimper to crimp both ends of your pocket |
 |
| This is the effect the crimper gives |
 |
| TA-DA! one favour pocket |


