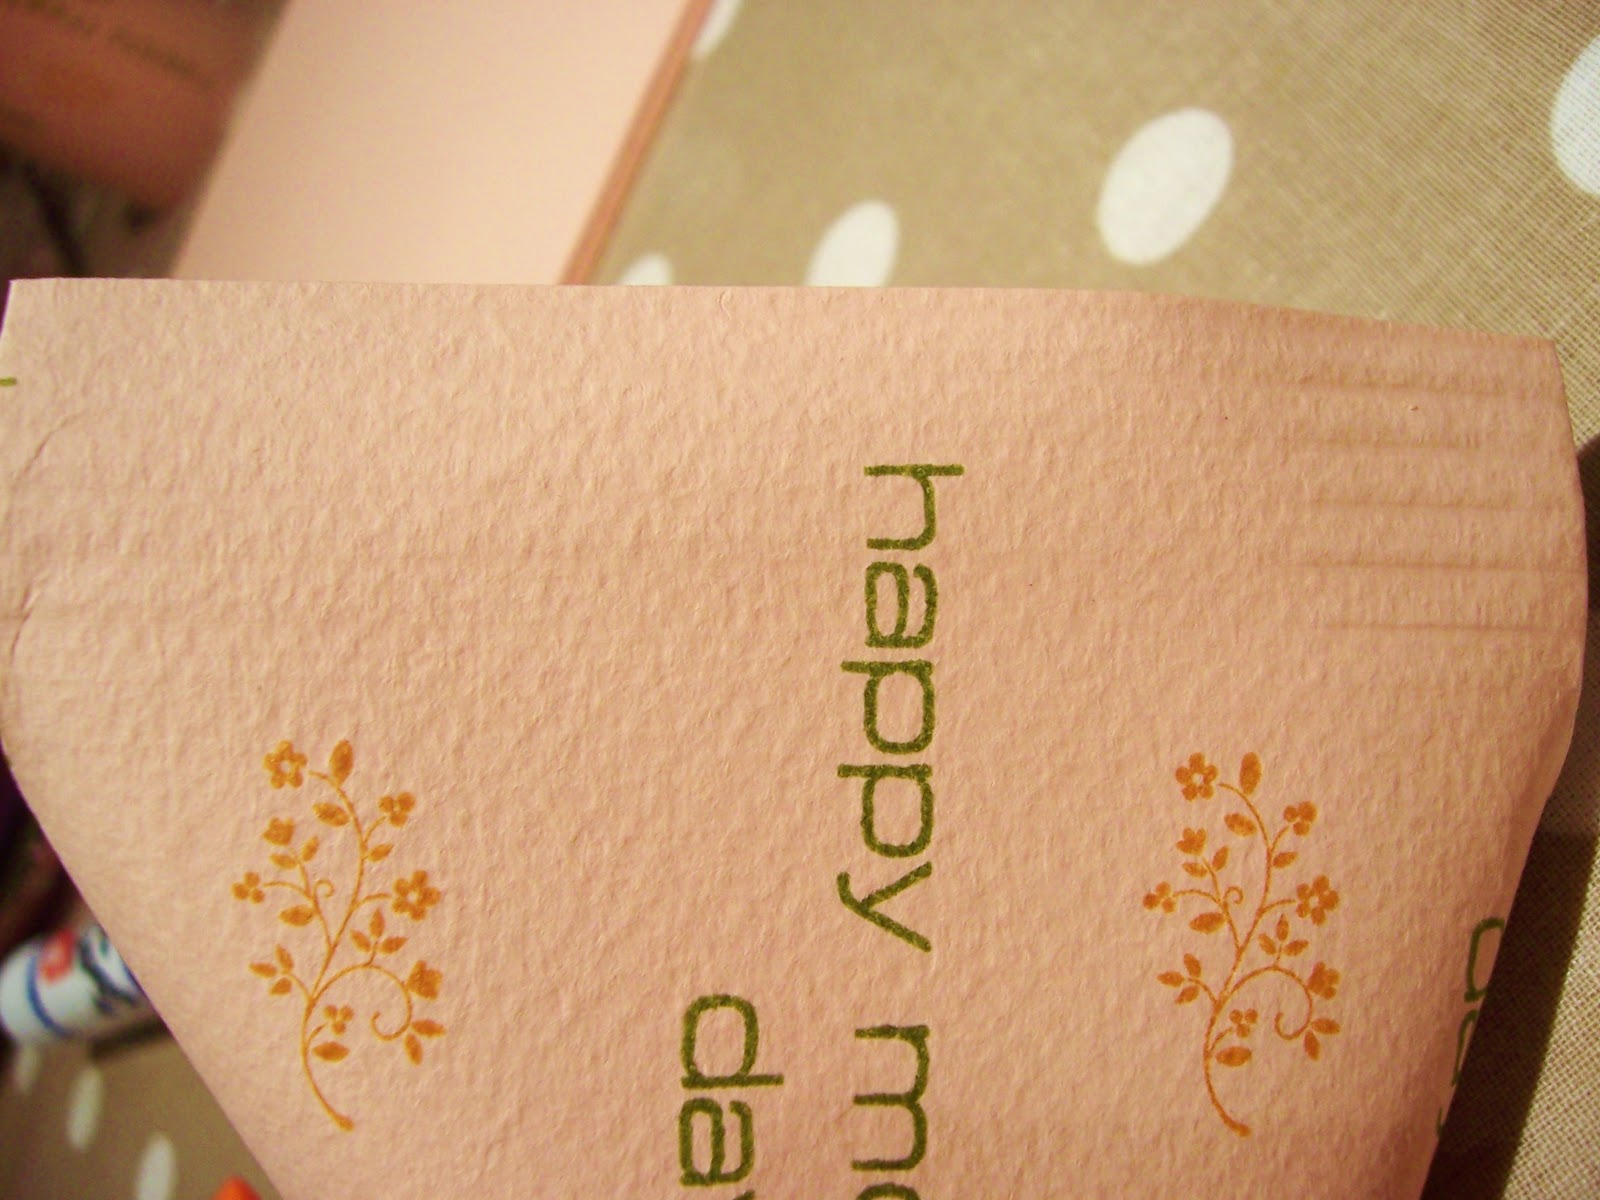
First project of the year was to make a set of wedding invites for a lady, these were 3d hearts with silver loops, For 55 card I had to made 330 hearts to all be glued together and 110 silver loops, I also had to individually stamp all the hearts and backgrounds on both sides. Major project for a small amount of cards!
Then the second project was to make a pichard curry and Puri to photograph it for my cookery book that I am writing, So we made it according to my father-in-laws recipe and it was actually really scrummy! A meal perfect for a saturday afternoon. Needs to be served I am told with apricot jam. The puri is absolutley fantastic, even the children munch away at that.
Then the next project was to install the raised vegetable bed ready for the growing season. We had a wonderful time on a sunny day in febuary. Millie gardening in her tiara of course! Also we planted 27 garlic cloves and they have started to grow already! I have never grown garlic before so it will be great to see how that comes along.
Then the next project was to start making my own wedding invites, After the time consuming job of making the 55 for the client at the beginning of january, We decided to go go for a simple design as we had 150 to make! So I ordered the pieces I needed to get started from a brilliant company called "stampin' up" my local demonstrator is a lady called Karen Reeves, Karen's great really really helpful and the best demonstartor i think stampin up has! If you would like her details please message me. I would say that all of the products she sells and demonstrates are superb quality and well worth checking out.
The green, ivory and aubergine are the colours we have choosen for our theme, We chose gold brads for the male heart as my OH likes yellow gold and used silver loops for the female heart as I prefer white gold.
And finally the project im working on now is a set of aprons ready for a craft fair at the end of march..... I have chosen lots of bright retro fabrics.
So I am still alive and STILL crafting I just haven't found the time to blog my "doings!" So here we are all up to date again! Its nice to be back documenting my projects.