Wednesday, 26 June 2013

Monk Fish Curry


MY MONKFISH CURRY

Ingredients
1 tbsp. oil (vegetable is fine)
1 finely chopped onion (medium sized)
2 cm Fresh ginger grated
3 Cloves garlic crushed
1/2 tsp salt
1 tsp sugar
1/2 tsp turmeric
1 tsp medium chilli powder
1/2 tsp cumin seeds
1/4 tsp fenugreek
1/4 tsp smoked paprika
1/2 tsp paprika
1 tsp cumin (ground)
1/2 tsp coriander (ground)
3/4 tsp garam masala
1/2 tin chopped tomatoes
2 monk fish fillets (ask your fish monger to debone and cut into large chunks)

Method
  • Grab a heavy bottomed pan with a lid. Add your oil and warm it up 
  • Finely chop your onion and cook in a tablespoon of oil on medium heat for about 5 minutes, do not let it go brown. You want them nice and translucent.
  • Add your garlic and ginger into the onions.
  • Then add your spices and stir round for about 2 minutes letting all the aromas come out of the spices.
  • Then add your tomatoes along with the salt and sugar.
  • Cook (still on medium heat) for a further 3-5 minutes then add your chunks of monkfish and about 1/2 mug of water. Stir and put on the lid. you want to turn down the heat now so that it just simmers nicely.
  • After about 1/2 hour to an hour, remove the lid and add 3/4 tsp garam masala. Leave the lid of to thicken the gravy like sauce and simmer for a further 1/2 hour.
  • Once its thickened you can serve either with puri or roti.


Thursday, 7 March 2013

Tutorial for paper pod pouches


Take an A4 or A5 sheet of paper or card.
Stick double sided tape to the shorter edge, roll into a tube.
Stick double sided tape into one end of the tube, squash down
Crimp 2cms of the stuck ond to get a pretty finish and a good seal.
Now the time to put any goodies inside your pouch before you seal the other end!
Good ideas are mini eggs, jelly beans, flower or vegetable sheets with mini growing instruction sheets! Possibilities are endless!
Take the other end of the tube and squash in the opposite direction to your previous crimped end.
Repeat the taping and crimping process for that end!
Viola! One paper pod pouch

Monday, 4 March 2013

Hand knitted cushion cover challenge

It took me so long to knit and cost a "real" lot of money to get enough squares (40) for one cushion!
Job done though and is now in my bedroom as part of my handmade bedroom challenge.


Setting out the patchwork squares

Finished cusion

Tuesday, 19 February 2013

Home Made Play Dough

Have fun at home like we do with your pantry ingredients!

Still Warm!
 
 Making Homemade Play dough is so simple and fun. All you need is....

Ingredients:

2 cups of flour
2 cups of warm water
1 cup of salt
2 tablespoons of vegetable oil
1 tablespoon of cream of tartar (adds elasticity)
10 drops of essential oil (optional)
food colouring (to make any colour dough you like)

The ingredients

Method:
Take a large saucepan and add all of your ingredients to the pan set onto a meduim heat and stir all together, keep adding drops of food colouring until you get the desired colour,
Keep stirring until the mixture resembles dough, once it does simply remove from the pan and roll into a large ball, let it cool for a few minutes then its ready to be played with.

We used green food colouring and ran out so we have ended up with a pale green dough. We also added 10 drops of citronella essential oil so it smells divine!

*Make sure you keep the dough when not in use wrapped tight with cellophane or a plastic food bag, making sure no air can get in and dry out your dough.

And now playing!

Wednesday, 13 February 2013

British Mixed Media Artist

A British Artist called Cara Tilson.
Her work is beautiful and varies from photography to a mix of painting and handcrafted goodies.
I have one of her paintings called Dream Bird. and she also was my wedding photographer, I cannot get enough of her work. The photos of my wedding were beautiful, really natural and just what we wanted. We had a pretty much handmade wedding, so getting Cara in to do the photography with her eye for capturing beauty in the little things is second to none.
She has a shop on Etsy. Click on the word "etsy" to see her online store.
I have also asked Cara to create a new peice for my bedroom. I sent her my mood board on Pinterest and away she goes and creates another masterpeice.
Here is a just small snippet of some of the work she has done for me to tempt you...
You can see all of her work on her website & her Etsy shop,


Natural wedding photography

My mum & I

Dream bird


Monday, 11 February 2013

Herman Friendship Cake


Friendship Cake


This idea originated from the Amish Friendship Bread, we tend call it a friendship cake or Herman cake. It is called the friendship cake because every time you make a batch you pass 4 little portions of the mix away to your friends, relatives or neighbours. Who then in turn pass 4 little portions onto their neighbours, friends or relatives.
It is yeast based and one starter can last a lifetime literally, and it is so simple to make, although it’s a long process with the 10 day cycle it is so worth it and every time I make one and freeze or give away the individuals I always get a sense of achievement.  There are so many variations of the end ingredients, just go with whatever you have in the pantry.
To make the cake from scratch if no-one has given you a starter mix is easy follow my instructions and you’ll always have a great base mix for your delicious cake.
 
Ingredients

·         5oz Plain flour

·         8oz castor sugar

·         1 packet active dry yeast (7 grams or 2 tsp.)

·         300ml Pint Luke warm milk

·         2 fluid ounces of Luke warm water

Method
·         Dissolve yeast in the warm water for about 10 minutes

·         Stir thoroughly

·         Stir in the warm milk

·         Cover with clean tea towel or muslin cloth

·         Leave for 24 hours covered with the cloth and then start the 10 day process.

Once you have this base mix or one that someone has passed on to you follow these instructions for the next 10 days… Remember this cake does NOT like the cold so no fridge. He grows at room temperature, and must be covered with cloth NOT cling film or foil!

                              ***********************************************

Take your little cake mix and start this 10 day process... 

Day 1: Take your Cake starter mix and scrape him into a large mixing bowl and cover with muslin cloth.

 Day2:

Stir Cake mix 2 – 3 times during the day with a large wooden spoon ( leave the spoon in the bowl as its easier that way)

Day3:

Stir him 2 or 3 times

Day 4:

Your Cake mix is ready for some action so add

·         200mls milk,

·         250 grams sugar,

·         200grams of self raising flour and stir in really well.


Day5: Stir Cake 2 or 3 times

 Day6: Stir Cake 2 or 3 times

 Day7: Stir Cake 2 or 3 times

 Day 8: Stir Cake mix 2 or 3 times

 Day 9: Now is where the good bit starts:

·         Add 200mls Milk, 250grams sugar, 200 grams Self raising flour and stir really well. Now divide up the mix into 5 portions.  Use Tupperware for this and leave the 5th portion in the large mixing bowl.  Now you can give away the 4 portions to your friends with a copy of these 10 day instructions. Or alternatively you can pop them in the Freezer for up to 6 months and you’ll always have your own mix to start from.


Day 10:

Heat your oven to 170 * Celsius

 Your portion now needs some ingredients to make him into a real cake, Into your mix add

·         150g self-raising flour

·         1 tsp. baking powder

·         1 tsp. grated nutmeg

·         3 tsp. ground cinnamon

·         100g chopped nuts

·         Handful of dried fruit (I use a mix saltanas, currants, raisins, & glace cherries)

·         2 large grated apples (skin on)

·         1 grated carrot

·         200mls sunflower oil

·         3 eggs

Grease a large cake tin about 9-10 inches Diameter. Or a 2lb Loaf tin will be good.

Bake him for about an hour until he’s cooked nice and firm, If he starts to look too brown on top before the middle is cooked place a piece of tin foil over the top loosely to stop it burning on the top.

Also you don’t have to make a fruit and nut version; I know one of my friends cannot abide  traditional fruit cake so she adapted hers into a pear and ginger cake. So she added to her starter mix:

1lb of peeled and cored pears and apples, 1 tsp. baking powder, 3 eggs, 200g melted butter and a good helping of freshly grated ginger.

So really anything goes. I’ve added allsorts to mine; I’ve made raspberry & lemon, coffee & walnut. As long as you add the 150g of flour, the baking powder and the oil/butter and the eggs, you can wing it and experiment with what you have in the pantry.

Friday, 8 February 2013

January money saving month

This is a list of the things we have done in January 2013 to cut costs and improve quality family time in the process


·         Purchased Salveo soap nuts. You have to try these...A years worth of laundry for £10!

·         Exchanged £12 of supermarket clubcard vouchers for £50 restaurant vouchers.  Will book up for us to go over the Valentines period. Romantic savings and food!

·         Brought scraps of fabric and Lampshade frames from ebay and made my own matching lampshades for our new bedroom design.

·         Cancelled Satelitte TV (we have a digital TV) we don’t really need Pause, Rewind and Record TV.

·         Downgraded mobile tariff, we never used all the free minutes and texts.

·         Used old towels that would have been binned as rags, I cut them into dishcloth sized pieces.

·         Used a £60 cash back offer from a Christmas purchase to bulk buy rice, pasta, meat and tinned tomatoes.

·         Cleared the loft by selling on ebay

·         Made my own Herman cake and froze the 3 portions you would normally give away

·         Booked our summer holiday from the newspaper offer “£10 holidays” It never works out at £10 per person but it’s still a cheap holiday for a family of 4.

·         Ordered all my seeds from a discount seed offer website and split the seeds with my mum so cut the price in half. I wouldn't grow 350 carrots in one year would I?!

·         Re-arranged the furniture so that we can use the kitchen dining room during the day which is nice and warm and then in the evenings we light the wood burner and have a cosy lounge.  This means we have been doing a lot more crafting and cooking, and because we are at the kitchen table you tend to talk more and that’s the best bit. Then snuggle time at night is lovely.

There is lots of ways you can save money and so far I think this is a pretty mighty effort for January! If you have any ideas please pass them on.

I will Blog soon with details of Herman Cake and Salveo Soap Nuts.


Thursday, 7 February 2013

Bundt Cake

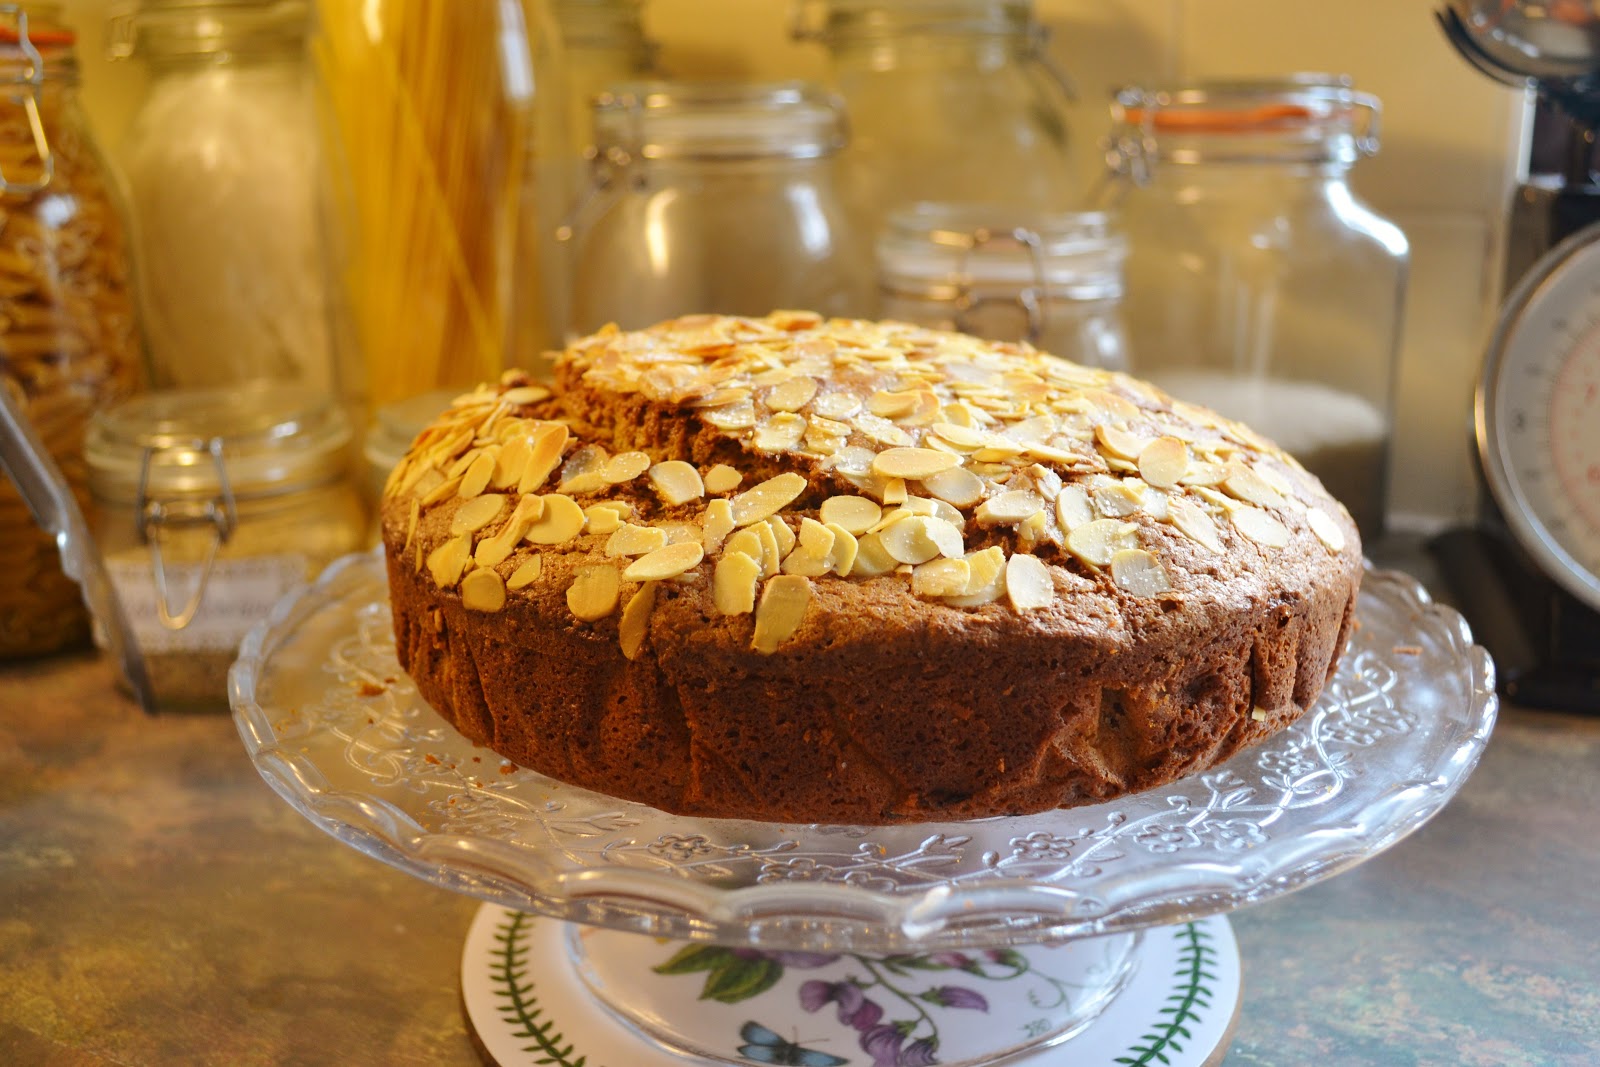
Summer Fruit & Almond Bundt cake


This cake is delicious and has the aromatics of cherry bakewell

You will need:

Bundt tin (sprayed with cake release spray or greased with a little butter)
3 large Eggs
8oz Self raising flour
1 tsp baking powder
8oz unslated softnened butter
8oz sugar
4 tblsp milk
1 tsp Almond essence
cup of sliced almonds
2 cups of summer fruits
2 tblsp icing sugar

Method:
  1. In a bowl mix your fruits with 2 tblsp of icing sugar. Leave to one side.
  2. Grease or spray your bundt tin
  3. Sprinkle sliced almonds into the bundt tin
  4. In a large mixing bowl cream together sugar and softened butter
  5. Add your 3 eggs and almond essence and mix ( i use a handheld mixer)
  6.  Add your baking powder to your flour and sift into the mixing bowl
  7. Mix in your milk
  8. Pour half of your cake mix on top of the almonds in your bundt tin
  9. Now you get your fruit mix and place on top of your cake mix layer
  10. now pour the remaining cake mix on top of the fruit layer
  11. Bake for approx 40 minutes checking after 30 to make sure its not already cooked, using the clean knife test : if it comes out clean its cooked.
When cooked tip upside down onto your cake stand or plate, this is delicious warm with cream or custard or cold with a cup of tea!


Wednesday, 16 January 2013

Homemade Quiche

Today I made a simple Broccoli Quiche, it's so basic and it's so much tastier than shop brought.
 
  
Recipe:
 
N.B you will need a flan dish of approx 9 inches across and some baking beans.
 
8oz Shortcrust Pastry
2oz favourite cheese (grated or crumbled)
1/2 pint milk
3 Large Eggs (beaten)
Broccoli (cooked al dente)
Pinch fresh grated nutmeg
Salt & and Pepper
 
Shortcrust Pastry
 (you can buy it ready rolled but I make it as its so easy just go with the flow, there's no morals here on shop brought or homemade)
 
6oz plain flour
2 oz self raising flour
4 oz butter
pinch salt
Water to mix
 
Pastry:
Sift flours together
use your fingers to crumble up the flour and butter together until its like breadcrumbs, add enough water to make a firm dough. Pop it in a bit of cling film and into the fridge for 30 Min's.
 
Quiche filling:
Into a mixing bowl, grate your cheese I used 2oz mature cheddar. Add Broccoli, (Can I just say that if you do not like broccoli you can add anything you like from mushrooms and onions to peppers to bacon and tomatoes!). Adding a little Stilton to the equation would be rather yummy here as well. Grate some nutmeg over the cheese, pour in the 3 eggs (beaten) and the milk. Add a little salt & pepper mix it up and there's your mix.
 
Pre-heat oven to 200 Degrees Celsius.
Now grease your flan dish with a little butter, roll out your pastry on a floured work top, Line your flan tin with the pastry, cover the pastry with tin foil and fill with baking beans, bake blind for 10 minutes, then remove the foil and beans and bake again for another 10 Min's.
 
Remove from oven and add your quiche filling mix making sure you do not overfill your flan casing.
Bake for about 30 Min's.
Hey presto Yummy Quiche! Eat it hot or cold.


Monday, 17 December 2012

Chunky Snood, A perfect christmas present

I have finished my snood!
It has come out even better than I imagined and it is so warm and lovely.

 
And it is a week until Christmas 2012, We are all ready this year in good time and will be spending the christmas holidays with family. What more can you ask for? The girls have seen Santa in his grotto and told him their wish list. Lets hope his elves are working hard to make all the toys!
 

Saturday, 15 December 2012

New Knit

Last night my daughter asked me to knit her rabbit a jumper so here it is...
I have taken this first picture in black and white as Rosie rabbit as she is known in our home looked so old fashioned in her handmade knitted jumper!
 
 
 I tried out some different stitches my next learning task is to follow a knitting pattern,
so on the must get list is: a tapestry needle, a knitting pattern (must be an easy to follow pattern!) and a row counter.


Wednesday, 12 December 2012

Homemade christmas mincemeat (veggie version)


Mincemeat in the making


Delicious


And some left over for more mincepies!
 
Ingredients for the mincemeat
 
4oz Vegetarian Suet
8 oz Large calafornian raisins
8 oz royal gala apples chopped very small with skin on
2 oz dark brown suar
6 oz white sugar
zest and juice of 1 lemon
zest and juice of one orange
1 oz flaked almonds
1 oz rough chopped hazelnuts
2 large teaspoons mixed spice
1/2 teaspoon cinnamon
1/2 teaspoon grated nutmeg
3 large dessert spoons of Congnac
 
Mix all the ingreidents together except for the Congnac, then cover with a clean muslin cloth and allow to infuse together for 12 hours or overnight. Do this in a mixing bowl that is oven proof.
Preheat the oven to 120 degrees celcius. Cover loosely with tin and pop into the warm oven for approx 3 hours. This will allow the suet to melt and coat the ingredients.
Allow the mix to cool, when it has cooled completely add your congac or you can use any alcohol you like such as brandy or sherry. Stir well.
 
You can either use this straight away to make your mince pies or it will store well for upto a year in steralised kilner jars.
 

Friendship bracelets

 
My daughter got this weaving wheel for her birthday so we have been making friendship bracelets. The instructions were a bit complicated so I had to get my husband to help me with the first one which was the flower power design you can see further down the page, but once I got the hang of it, it's easy peasy! Thank goodness as the age range on the packaging said from 6 years+


So this shows the threads set up on the wheel the design is called the candy cane.


This shows the friendship bracelet coming out of the underside of the wheel


And this is a small child sized friendship bracelet in a flower power design, our first attempt at weaving! The kit comes with about 4 different designs and some thread, but once the thread runs out im going to replace it with embroidery thread and we can choose colours that we love. you can adjust the length of the threads to make adult sized bracelets and add any beads as well so endless possibilities!

Monday, 10 December 2012

Knitting Season


Thanks to YouTube and a little patience I have been learning how to knit a little.
So here is last nights attempt....little Ted with his new sparkly jumper.
I am also knitting what I think might be a snood. It is being knitted with chunky wool and large sticks, I did not realise how expensive wool can be. So far the snood has cost me about £20 and its only 3/4's finished. So I think im going to stick to little projects and get all of the dollies in the girls toy cupboard kitted out with my attempts at knitting!


Friday, 7 December 2012

After a year out from Blogging I have finally come to the conclusion that its good to Blog about the things I have been making. So I return!
Things have been very busy this last year, I got married! I have taken on an allotment in the village, my oldest daughter has started school and I also have a part time job. Also I have been quietly crafting away!
So I hope you are all pleased that i'm back and I hope to show you some interesting things.
 

Thursday, 14 April 2011

Blog closed

Hello Folks
I'd like to take this oppurtunity to thank you all so much for your support over the last year or so, I have had to close my folksy store down and will not be blogging anymore due to illness and I hope you all keep doing the handmade thing, its good for your soul.
So you all take care and make and grow and mend!
Lots of love to you all
Marti

Wednesday, 6 April 2011

Cassis Oil Cookies (easter biscuits)

extra large butter cookie men


Daisy shaped cookies, notice the small hand coming in for a steal!

Today we decided to make huge ginger bread men without the ginger and used Cassis Oil instead which is typical easter scent and taste. These men are so large I could only fit 2 onto my cake stand! Now we made ours with a vegetable spread as my LO's both have a milk intolerance.
The recipe for these is so easy as follows...
  • 500g plain flour
  • 1 tsp baking powder
  • 2 eggs
  • 200g castor sugar
  • 7 drops cassis oil
  • 250g chilled butter (vegetable spread)
Heat oven to 175 Degrees C.
Mix all ingredients together, form a nice dough on a floured surface, Chill wrapped in clingfilm for 40 mins in the fridge, Heat oven to 175 Degrees C. Roll out to about 3-4mm thick and cut with your favourite cookie cutters. Bake on floured or greased baking trays for 8-12 minutes.
Perfect!

Monday, 4 April 2011

Gardening & Crab Apple Jelly

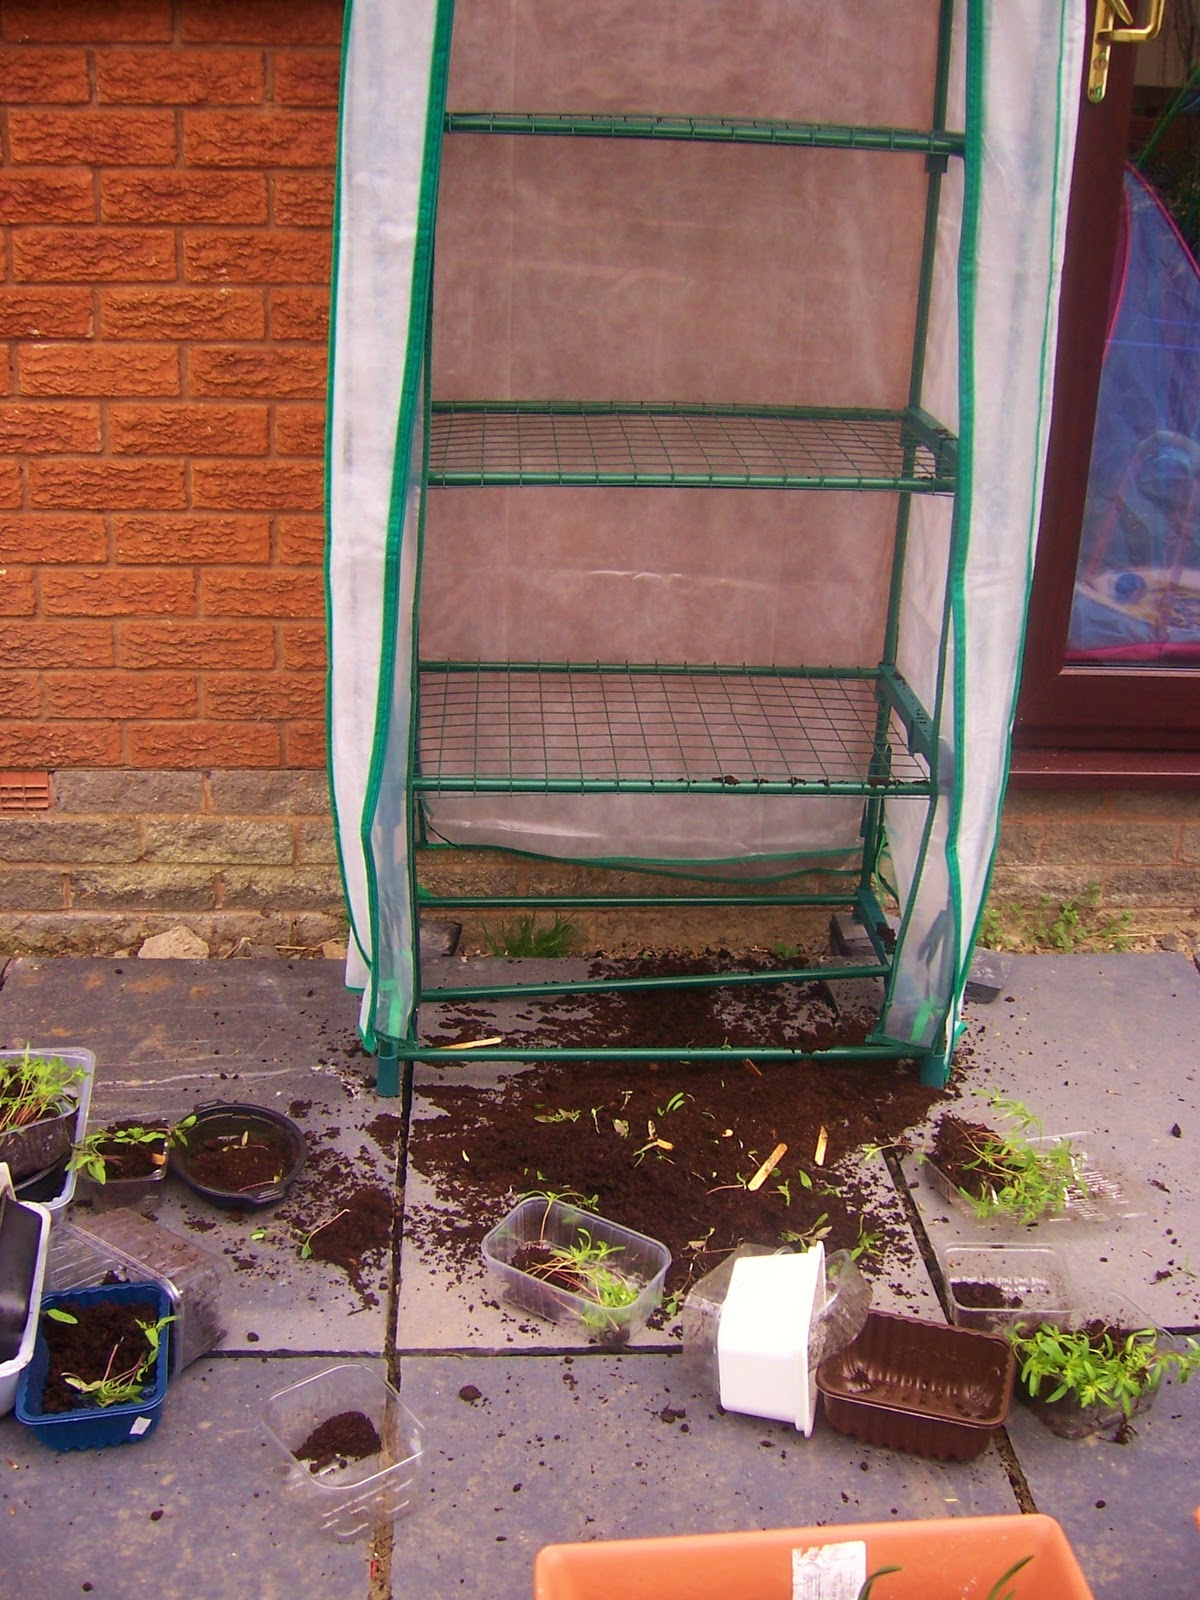
Mini disaster - March winds?

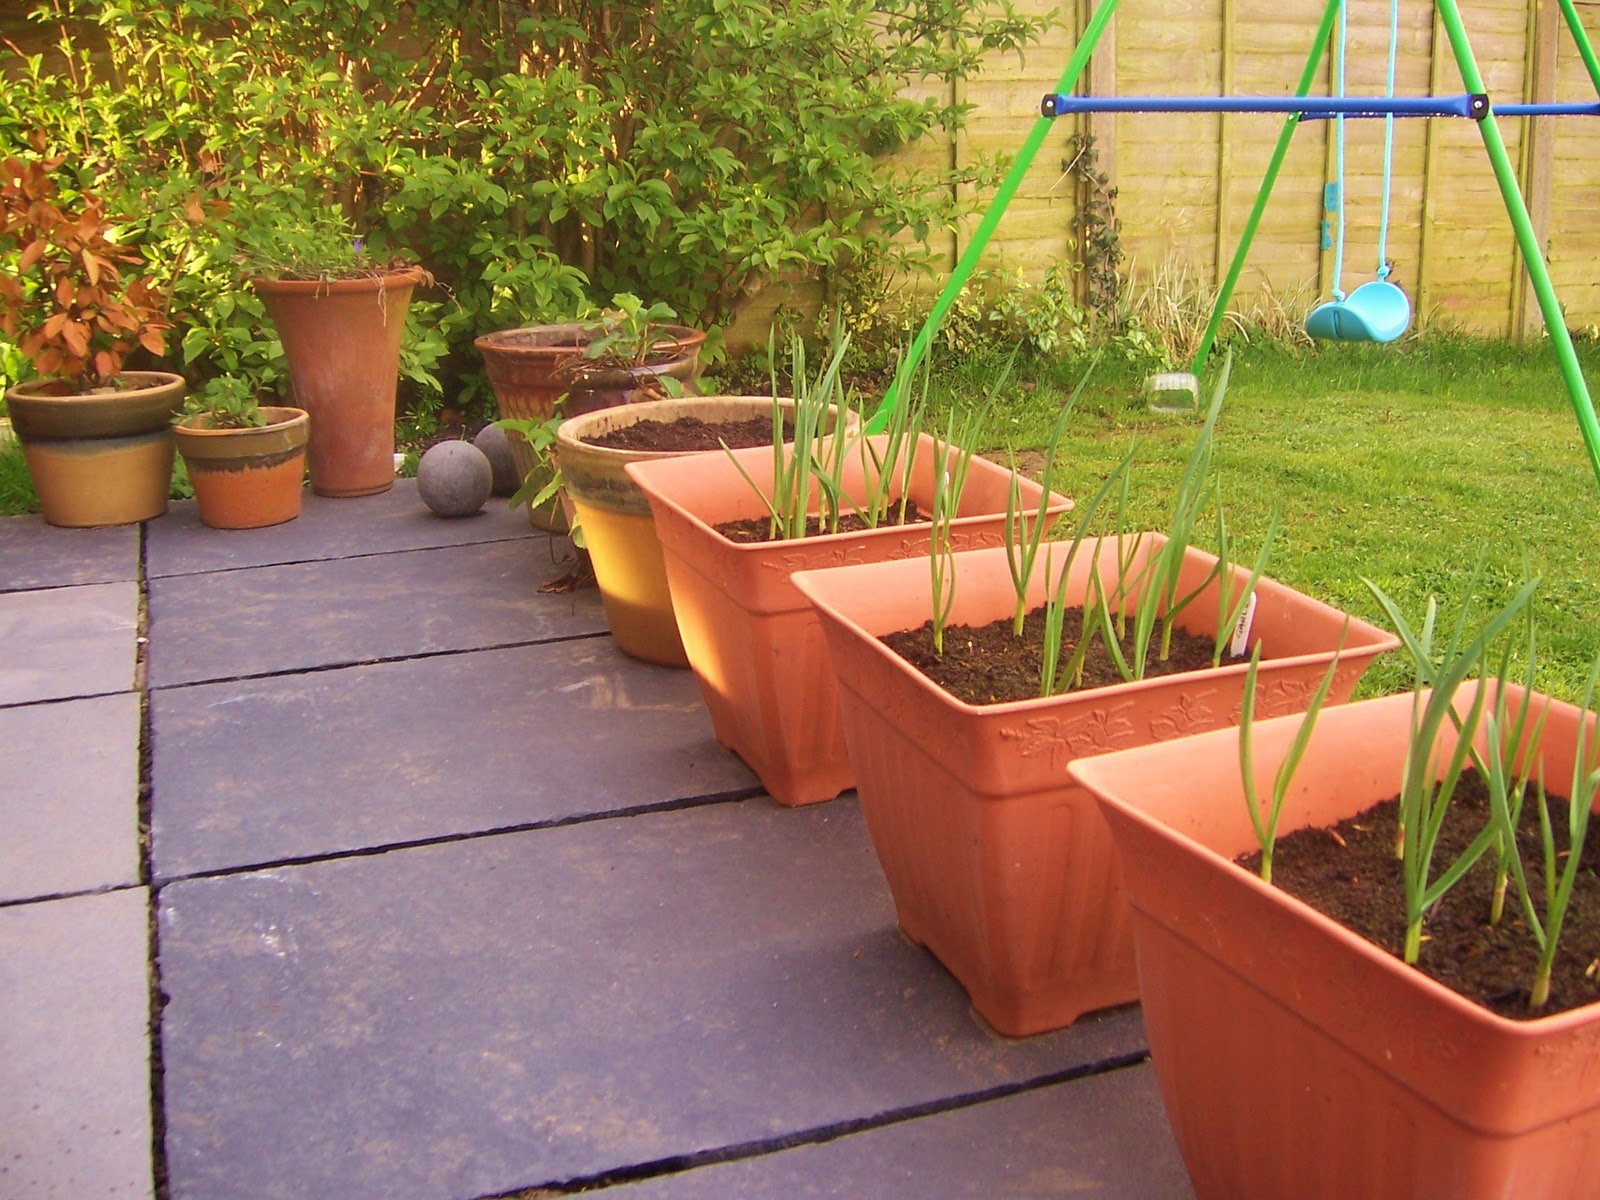
Garlic, Spinach, Spring onions, Mint, Bay tree,

Large pot (left) ready for new potatoes

A peony popped up beside the bird bath
& Cosmos seedlings growing in the front

The beans are still growing, slower outside as its still cold yet

and finally my new crab apple tree
One of my favourites to grow and to use is Crab apples, so I purchased a new crab apple tree for our new home, and one day when she's grown into a tree we will have delicious crab apples. You will be able to find this recipe in my Family Cook Book once it's published....So here's a recipe for the jelly.

  • 4 kg crab apples
  • 1 kg caster sugar
  • 1 lemon, juiced
Makes 6 x 500ml jars

1.Wash the apples, removing any bruised fruit. Put in a saucepan, fill with water to just cover the apples.

2.Bring to the boil and simmer until the fruit is soft (about 30 minutes).

3.Pour the pulp into a jelly bag or several layers of muslin and let drip overnight into a pan. Do NOT squeeze the bag or it will make the juice cloudy.

4.The next day, measure the juice, and add sugar in the ratio of 10 parts juice to 7 of sugar. Add some lemon juice, then bring to the boil, stirring to dissolve the sugar.

5.Keep at a rolling boil for 40 minutes, skimming off the froth. To test the set, chill a dessertspoon in the refrigerator.

6.When the jelly is set, it will solidify on the back of the spoon. Pour into warm, sterilised preserving jars and tightly seal while still slightly warm. Store in a cool dark place.

ENJOY! 

Wednesday, 30 March 2011

Stage 3 of summer dress


Well stage 3 complete.
Added some bias binding in a floral pattern.
Picture number 3 is my mothers day card (a bit early) in the form of Millie as the hungry green caterpillar.
How cute!

Tuesday, 29 March 2011

Dress stage 2

second stage complete
Now I have sewn all of the peices of fabric together I just need to get all of the trimmings for the neck line, and sleeve holes, I have a sample of the fabric and will go in search tomorrow for embelishments, possibly bias binding and then a coursage for the dress. Also it may need an underskirt, Will have to wait to see stage 3 .... watch this space!